Page History
...
| Table of Contents | ||
|---|---|---|
|
...
概要
| Styleclass | ||
|---|---|---|
| ||
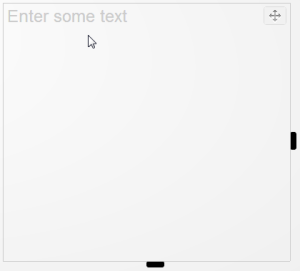
- Slide Content - This panel will allow you to enter free text, with a wide range of formatting options available.
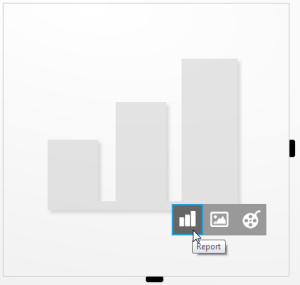
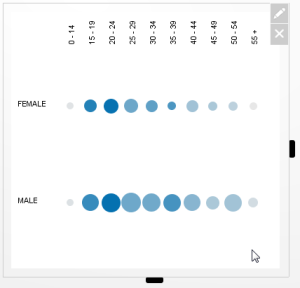
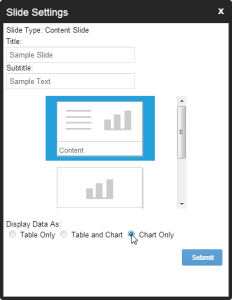
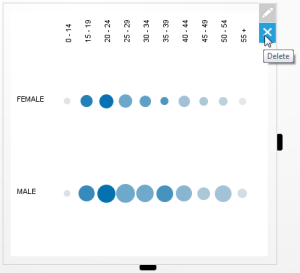
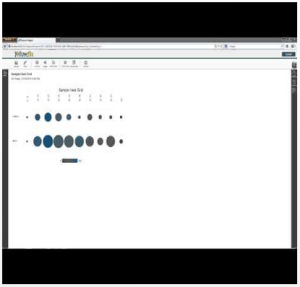
- Slide Content - This panel will allow you to add a Yellowfin Report to your slide in order to explore business data during your presentation.
- Slide Content - This panel will allow you to add an Image to your slide in order to display supporting graphics during your presentation.
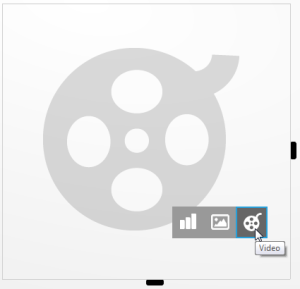
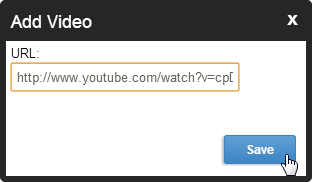
- Slide Content - This panel will allow you to add a Video to your slide in order to play it during your presentation.
See Slide Types for more information about different slide options.
...
- テキスト - このパネルでは、自由に文字を入力でき、幅広い書式オプションを適用することができます。
- レポート - このパネルでは、スライドにYellowfin レポートを追加して、プレゼンテーションの実行中にビジネスデータを解析することができます。
- イメージ - このパネルでは、スライドにイメージを追加して、プレゼンテーションの実行中にプレゼンテーションをサポートするグラフィックを表示することができます。
- 動画 - このパネルでは、スライドに動画を追加して、プレゼンテーションの実行中にビデオを再生することができます。
さまざまなスライドオプションの詳細については、スライドの種類を参照してください。
テキスト
| Styleclass | ||
|---|---|---|
| ||
| Expand | ||
|---|---|---|
| ||
|
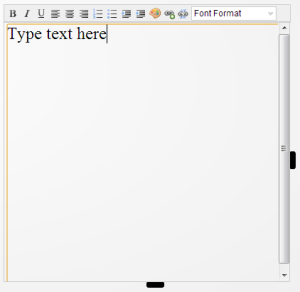
Text Formatting
There are several formatting options that can be applied to text in a text panel on a slide.

Options | Description |
|---|---|
Font Styling | Select which styles should be applied to the text from Bold, Italic, and Underlined. |
Text Alignment | Select how the text should be aligned from Left, Centred, Right. |
Lists | Create a list using either Numbers or Bullets. |
Indent | Choose to add or remove text indentation. |
Colour | Select a colour for the text. |
Link | Choose to add or remove a link from the text. |
Format | Select predefined formatting (set in the theme) from a drop down list of Text, Heading 1, Heading 2, and Heading 3. |
|
テキストの書式設定
スライド上のテキストパネル内のテキストに適用できるさまざまな書式設定オプションがあります。
オプション | 説明 |
|---|---|
フォントスタイル | 太字、斜体、および下線から、テキストに適用するスタイルを選択します。 |
テキスト位置合わせ | 左寄せ、中央揃え、右寄せから、テキストの位置合わせ方法を選択します。 |
リスト | 数字またはバレットを使用してリストを作成します。 |
インデント | テキストインデントの追加または削除を選択します。 |
色 | テキストの色を選択します。 |
リンク | テキストに対するリンクの追加または削除を選択します。 |
書式 | 事前設定済みの書式設定(テーマ内に設定済み)を、「テキスト」、「Heading 1」、「Heading 2」および「Heading 3」のドロップダウンリストから選択します。 |
レポート
...
| Styleclass | ||
|---|---|---|
| ||
| Expand | ||
|---|---|---|
| ||
|


Report Actions
| Expand | ||
|---|---|---|
| ||
|
| |
|
レポートのアクション
| Expand | ||
|---|---|---|
| ||
|
イメージ
...
| Styleclass | ||
|---|---|---|
| ||
| Expand | ||
|---|---|---|
| ||
|

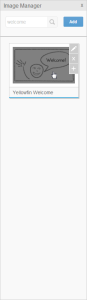
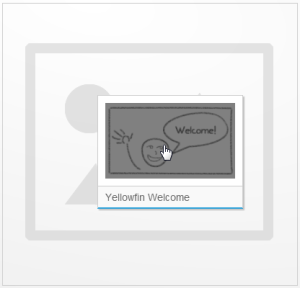
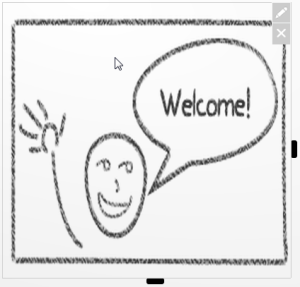
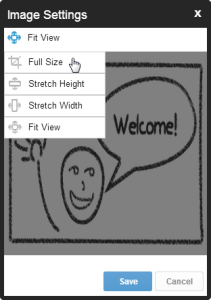
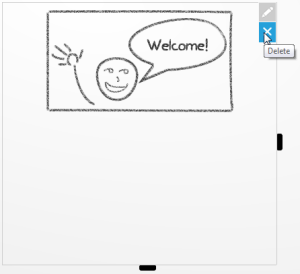
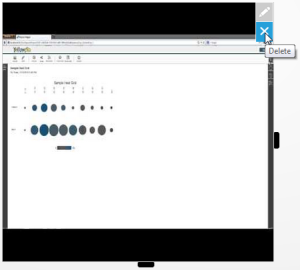
Image Actions
| Expand | ||
|---|---|---|
| ||
|
...
| |
|
イメージのアクション
| Expand | ||
|---|---|---|
| ||
|
動画
| Styleclass | ||
|---|---|---|
| ||
| Expand | ||
|---|---|---|
| ||
|
Video Actions
| Expand | ||
|---|---|---|
| ||
|

...
| |
動画のアクション
| Expand | ||
|---|---|---|
| ||
|
コンテンツのリサイズと移動
| Styleclass | ||
|---|---|---|
| ||
Resize
Resizing content on a slide is much the same as on the dashboard - dragging and dropping. You will notice that, while the Storyboard is in draft mode the left and bottom sides of an active content panel have tabs. Simply drag one of these tabs to adjust the size.
Note: When you resize a content panel, if there is a second panel on the slide it will be adjusted also. The two panels combined will always take up the same amount of space in total.
Moving
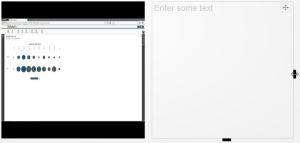
There are two layout options available on a slide when there are multiple content panels:
- Column
- Row
リサイズ
スライド上のコンテンツのリサイズ操作は、ダッシュボードにおけるドラッグアンドドロップ操作とほとんど同じです。ストーリーボードがドラフト(編集中)モードである場合、アクティブなコンテンツパネルの右側および下側にはタブが表示されます。これらのタブのいずれかをドラッグするだけで、サイズを調整できます。
注意:コンテンツパネルをリサイズする場合、スライド上に2つ目のパネルが存在する場合は、そのパネルのサイズも同時に調整されます。結合されている2つのパネルは、合計で常に一定量の面積を占有します。
移動
スライド上に複数のコンテンツパネルが存在する場合、2つのレイアウトオプションを使用できます。
- カラム
- ロウ
| Expand | ||
|---|---|---|
| ||
デフォルトでは、Yellowfinはロウレイアウトを使用します。つまり、コンテンツパネルは横に並んで配置されます。これを変更するには、ストーリーボードをドラフト(編集中)モードにして、コンテンツパネルの上にマウスカーソルを置きます。 | ||
| Expand | ||
| ||
By default, Yellowfin uses the Row layout, meaning that the content panels sit side by side. To change this, while the Storyboard is in draft mode, hover over a content panel. |
| horizontalrule |
|---|
| Styleclass | ||
|---|---|---|
| ||