Page History
...
| Table of Contents | ||
|---|---|---|
|
...
Group List
| Styleclass | ||
|---|---|---|
| ||
This section describes how Groups are used within the application. Groups are a vital element of Yellowfin security and Broadcast processes. Groups assist users by allowing commons sets of people to be added in to general groups which can then be attached as a single entity to various elements within the application.
Group List
| Styleclass | ||
|---|---|---|
| ||
Groups can be created and managed through the Admin Console. Once a group has been defined there are processes within Yellowfin that will automatically maintain members of a group on a regular basis.
...
Create Groups
| Styleclass | ||
|---|---|---|
| ||
To delete a group so that it is no longer available for adding into reports and use for security select the group you wish to delete, and click the delete link.
This will not physically delete the Group from the system - since the group may be in use. The status of the group will be changed so that it is no longer available for use.
Note: If a group is accidentally deleted it can be re-instated by your Yellowfin DBA by updating the group status code.
Create Groups
| Styleclass | ||
|---|---|---|
| ||
To create a new Group either click the 'create new group' from the Administration Panel or Create New from the Group list page.
- Type in the name and description of the group
- Select the members you wish to add and click 'add' to include them into the members list. If you wish to specifically exclude a member - tick Exclude from the member control option.
- Click 'Submit and Close' to save and close your group.
...
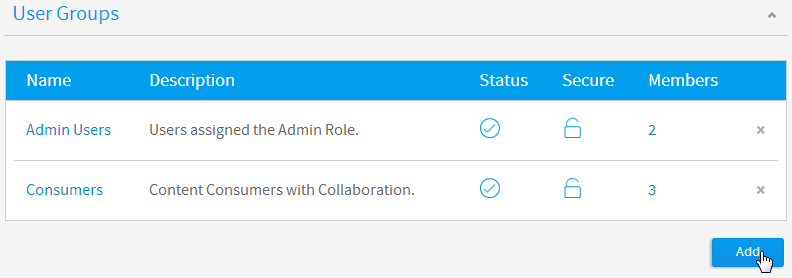
create a new Group either click the Add button at the bottom of the groups list in the Admin Console.
Group Details
You will now be taken to the Group Details page where you will have to provide the following:

- Name: enter a name for the group that will be used to identify it throughout the system.
- Description: enter a description for the group that will help define its intended use.
- Group Status: activate the group in order to use it throughout the system.
- Group Security: secure the group if you only wish group members to be able to make adjustments to the group.
Default Dashboards
If you wish to automatically add dashboard tabs to a user's dashboard when they are created you can assign the default tabs for a user group. Choose the tab and click 'add' to add them to the list of tabs. The order you add tabs to a user group will be the order they are sorted on the dashboard (see the numbered list pictured below). All these tabs will be created for a new user when they first login to Yellowfin.
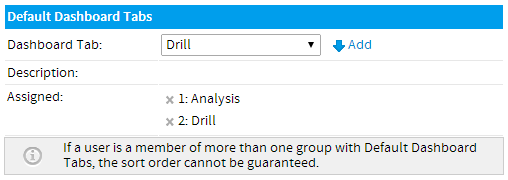
Note: this only adds tabs to new users when they are created, once added users can then remove these tabs if they desire.
Group Members
...
...
To assign users to a group you will have to create member records. This is done by deciding how members should be assigned. To assign members you can either add in specific users or specific types of users. For example you could create a group that includes all users with the role of 'Public Writer'.
Member Types
The following member types are available from within Yellowfin:
Person | Individual users of Yellowfin. |
|---|---|
Role | If you wish to select all users from a selected Yellowfin role - such as administrators then select role. |
Group | Pre-existing groups that have been created in the group management list. |
LDAP Group | If you have configured your assess to use LDAP directories then you will be able to select an LDAP group. Yellowfin will synchronise with this group on a daily basis. |
...
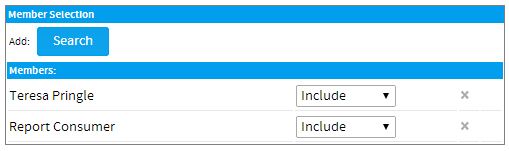
The member control allows you to determine if the user should be included or excluded from the group. For Example you might want to include all Public Writers in a group but exclude John Smith.
If a user is excluded from a group then this overrides any record from which they might be included. The exclusion process is the last step of building the group members.
- Select the type of member you want to add to a group
- Determine if you wish to include or exclude them from the group
- Click add to add them into the members list
Once complete, click Save to add the group.
View Members
| Styleclass | ||
|---|---|---|
| ||
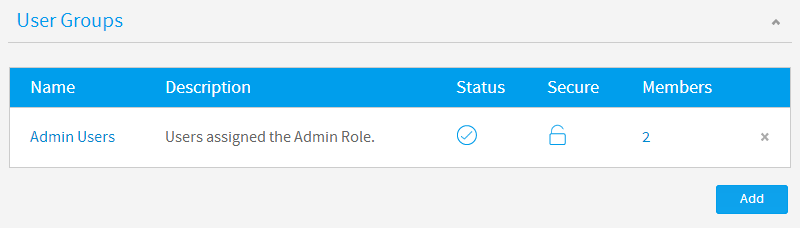
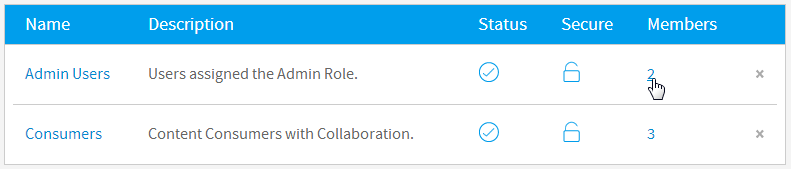
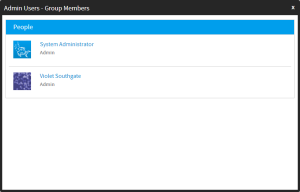
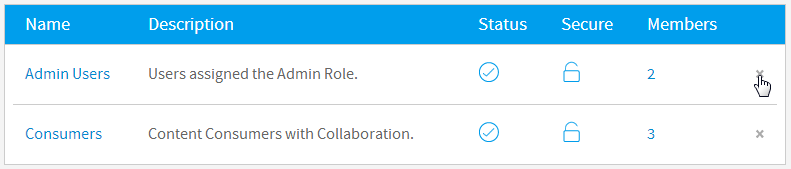
When viewing the Group List on the Admin Console, you can click on the number of members to view a list of users currently assigned to a group.
Edit Group
| Styleclass | ||
|---|---|---|
| ||
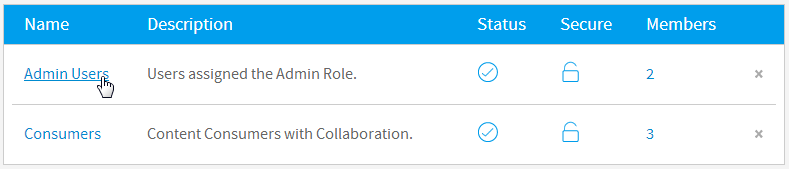
In order to make changes to a group definition, simply locate the group in the Admin Console and click on its name to access the Group Details page.
Delete Group
| Styleclass | ||
|---|---|---|
| ||
In order to delete a group definition, simply locate the group in the Admin Console and click on the x to the right of it. This will only remove the group, not the users assigned to it.
| horizontalrule |
|---|
| Styleclass | ||
|---|---|---|
| ||