Page History
...
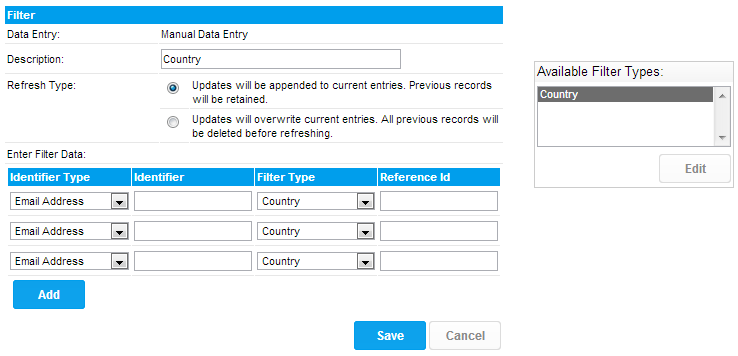
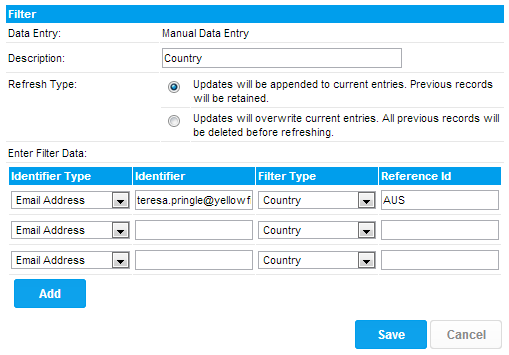
Identifier Type | The Identifier Type and Identifier are used to identify a Yellowfin user. The Identifier Type can be either |
|---|---|
Identifier | The Identifier field will then be the corresponding user id. |
Filter Type | The Filter Type field is used to determine what type of filter this is. This is critical to assist users when creating views or reports. Select a user friendly type name. |
Reference Id | The Reference Id field is the corresponding data for the matching user. |
...
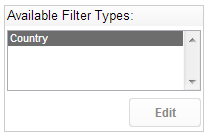
- From the Source entry page you will see the Available filter types on the right hand side of the page. Click Edit to add new filter types.
- From the popup click the add link to add a new filter type. This will open a section at the bottom of the popup. Enter a code and description of the filter type you are creating.
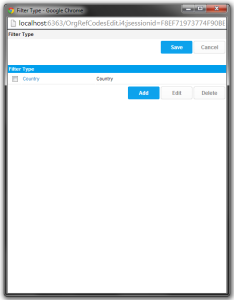
- Once you have created a new type click the add link and then the OK link to save all your changes. This will take you back to the main access filter page and you should see a filter type specified in the available list.
Note: If you wish to delete a filter type then from the edit popup select a type and click the delete link. You will be prompted to click OK to save your changes. If you delete a type which is in use this may impact your reporting filter process.
...
When you create an Access Filter manually, you will be presented with a list of records to fill in. Initially the page displays three records, but you can add more records by clicking the "More" “More” link underneath. When you save the filter, empty records will be discarded.
Note: If records exist you can view these by clicking the view record link located at the bottom of the entry section.
...
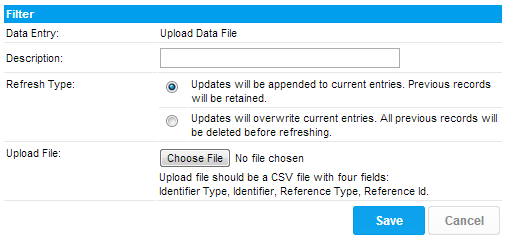
When you choose to create an Access Filter by uploading a data file, the screen will show a file selection box. Click on the Browse button to open the CSV file containing the filter records. The file must consist of records of the four fields listed above. The file may contain a header row, which must have the titles "Identifier Type", "Identifier", "Reference Type" and "Reference Id"“Identifier Type”, “Identifier”, “Reference Type” and “Reference Id”.
Scheduled SQL Query
| Styleclass | ||
|---|---|---|
| ||
...
- Create your view as normal, and then on the Fields page, select a field that corresponds to one of the Reference Types you have created.
- On the Access tab, select the correct type from the Access Filter selection. You will not be able to select Reference Types that don't don’t have any filter records saved against them.
- Once you have selected the Access Filter, save the field. You can select more than one field to be different Access Filter types if you wish.

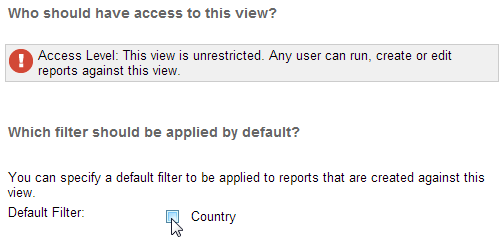
- Once you have finished assigning access filter types to the fields on the view, go to the View Security page. You can select a default filter to be applied to reports created against this view here, or choose not to have one. If you select a default filter, any subsequent report created against this view will have the filter applied. Users creating reports that have the appropriate access level can change or remove the filter on a per-report basis.
...
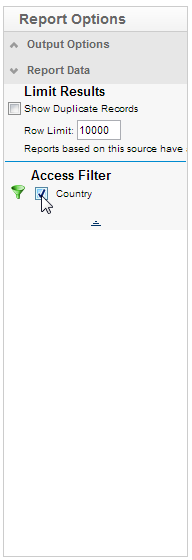
If you select a filter, it will be applied to the results for each user when they run the report.
Note: that only users with the appropriate security access level will be able to change the Access Filter on a report.
...