Page History
...
- Open the Report you wish to translate by locating it in the Report List.
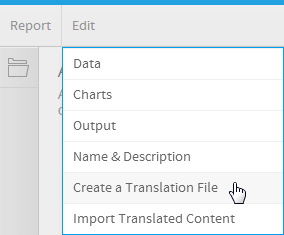
- Place the Report in draft mode by clicking Edit > Format
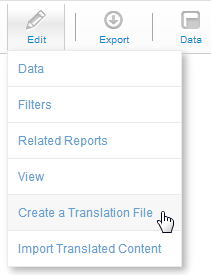
- Click on the Edit button again, this time selecting the Create a Translation File option
- A CSV file will now be generated containing all the customised Report related text.
Follow standard browser settings to save and open the file.
Note: when exporting report translations, only text that has been customised in the report builder (since the view) will be included in the file. The report will inherit all other text from the view and as such, the view should also be translated. If there are no translations available, the original text will be used. - Update the CSV with the required translations
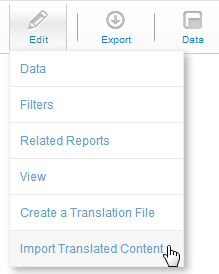
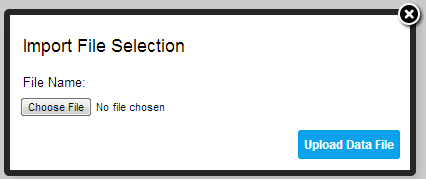
- You will need to navigate to the Report Preview page if you have moved away, and click Edit > Import Translated Content.
- Locate your translated CSV and click the Upload Data File button
- Yellowfin will now display one of the following validation messages when
- Your translation CSV upload is successful

- There is an error in your CSV file, or an unsupported file type was used

- One of the language column headers was changed and is not supported, in the example below en_au was changed to australian which is not a valid language code

- Either the order of the standard (first four) columns has been altered or there is no language column

- The CSV file was empty, or no file was selected

- Your translation CSV upload is successful
...