Page History
...
- Navigate to Administration > Admin Console.
- Expand the Data Sources section of the Admin Console main panel.
- If you already have a connection defined that you wish to set to writable, simply click on the connection name, otherwise create a new connection by clicking the Add button.
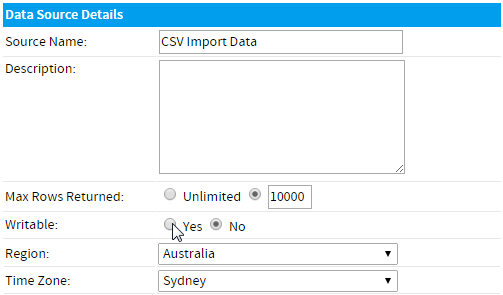
- In the Data Source Details section of the connection setup, set the Writable option to Yes.
- In the case that a user has permission to import a CSV, but not permission to access the advanced options, they will need there to be a writable source connection that has been set to the CSV Default so Yellowfin knows which connection to select for them. If this is the case for some of the users in the system, set the CSV default to Yes.

- Complete the process by clicking the Save button at the bottom of the page.
...
- Navigate to Administration > Admin Console.
- Open the Roles section and click on the role you wish to enable CSV access for.
- Enable the following:
- Report Types - this provides the user with access to advanced report authoring options, such as CSV Import.

- CSV Reports - this gives the user access specifically to the Load CSV File option on the Report Builder's initialisation step.

- Advanced CSV Functionality - this allows users to select advanced options, including which writable data source to use, rather than relying on the default option.

Note: this is an optional role permission.
- Report Types - this provides the user with access to advanced report authoring options, such as CSV Import.
- Save the role.
...
- Navigate to Administration > Admin Console.
- Open the Roles section and click on the role you wish to enable CSV access for.
- Enable the following:
- Database Views - this provides the user with access to the standard View Builder.

- Create CSV Table - this enables the CSV Import functionality within the View Builder.

- Database Views - this provides the user with access to the standard View Builder.
- Save the role.
...