Page History
...
| Table of Contents | ||
|---|---|---|
|
...
ユーザー一覧
| Styleclass | ||
|---|---|---|
| ||
This section describes how users can be maintained within the application.
User Management
| Styleclass | ||
|---|---|---|
| ||
Access to Yellowfin is based on users existing within the system. Through the Administration Panel administrators can create, edit and delete users within the application.
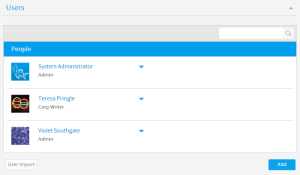
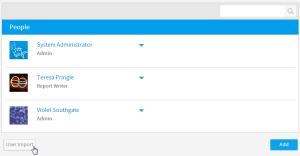
User List
The user list provides you with the ability to browse all the users within the system. To access this list click the 'User Management' link on the Administration Panel. This will open a new page a display and list of all users.
If you have many users and you want to find a specific user you may have to use the search facility or use the forward and previous links to browse the list.
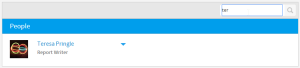
Search Users
To search for users within your system you can either use the search facility from the Administration Console or the User List page.
- Type in the users first or last name (filter by role drop down) and click the GO button.
- A list of users matching your query will be returned.
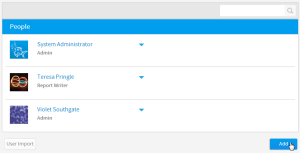
Add User
システムへのアクセス権はユーザーログインに基づいています。管理者は管理パネルで、アプリケーションのユーザーを作成、編集、および削除することができます。ユーザー一覧では、システム内の全ユーザーの情報を見ることができます。この一覧にアクセスするには、管理パネルのメインパネルで「ユーザー」セクションをクリックして展開します。
ユーザー検索
多くのユーザーの中から特定のユーザーを見つけたい場合は、ユーザー一覧の上部にある検索ボックスを使用することができます。
- 検索ボックスに、ユーザーの名または姓を入力します。
- 該当するユーザーの一覧が表示されます。
ユーザーの追加
| Styleclass | ||
|---|---|---|
| ||
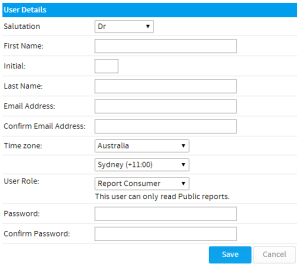
- To create a new user click the 'create new user' link on the Administration Panel or the add link on the User List page.
- This will open a new user form. Complete the form by filling in their name, email address, time zone, allocate a role and provide a password - this will be changed the first time they login.
Change Password
If a user forgets their password as the administrator you can change it. Open their profile through the user management section.
Type in new password details and confirmation email.
You will have to inform the user of their new password. They will be requested to change it the first time that they log in.
Change Role Access
As discussed in the security section of this document role management is a vitally important function of your system administration. This is because by granting people a role within the system you will be allowing them access to modify your data.
If the role a person has a large number of permissions this could put you at risk if the person should no longer have access.
Bulk User Import
| Styleclass | ||
|---|---|---|
| ||
With Yellowfin you can load a large set of users into your application through the Bulk User import process. This is available through the User Management area.
- To load you bulk users navigate to the manage users page. Below the list of your users you will see the Bulk Import Link. Click this link to continue.
- You users should be contained in a CSV format with data contained within quotes. See the example below and on the screen for more detail. The file must contain the following parameters:
First Name, Last Name, Initial, Salutation Code, Language Code, Time Zone Code, Email Address, UserName, Password, Role Code
- Click the browse button to locate and load your file.
- Click the Upload Data File to load and save your new users.
Deleting Users
| Styleclass | ||
|---|---|---|
| ||
To remove a user from the system you must delete them - they will then not be able to login and access reports.
...
新規ユーザーを作成するには、管理パネルでユーザー一覧の下にある「追加」ボタンをクリックします。
これにより、「ユーザー詳細」フォームが開きます。ここで、情報を入力してユーザーを設定する必要があります。必須のユーザー詳細を図に示します。
ユーザーの一括登録
一度に多数のユーザーを作成する必要がある場合、一括登録プロセスを使用して作成することができます。
- 管理パネルで、ユーザー一覧の下部にある「ユーザーのインポート」ボタンをクリックします。
- ユーザーの情報はCSV形式のファイルに収められている必要があります。詳細は以下の図を参照してください。ファイル形式の例は以下の通りです:
Code Block # Comments can be present. Starting with a # only. Blank lines will also be skipped. # First Name, Last Name, Initial, Salutation Code, Language Code, Time Zone Code, Email Address, UserName, Password, Role Code "Bob", "Jones", "A", "MR", "EN", "", "bob.jones@company.com", "bob.jones@company.com", "password", "YFADMIN" - 「ファイルの選択」ボタンをクリックし、ファイルを特定してロードします。
- 「アップロード」ボタンをクリックして、新規ユーザーをロードして保存します。
ユーザーの編集
| Styleclass | ||
|---|---|---|
| ||
名前の更新、パスワードの変更など、ユーザーのアカウントへの変更を求められる場合があります。変更を行うには、ユーザー一覧でユーザーを特定し、それらのレコードの横にあるドロップダウンメニューを選択して「編集」オプションを選択します。
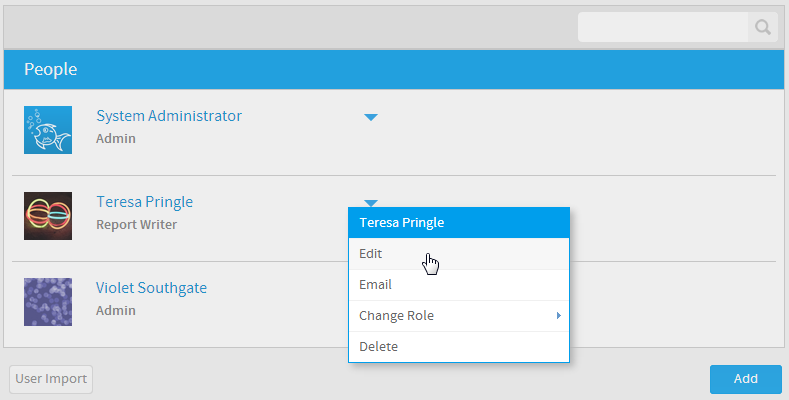
これにより「ユーザー詳細」ページが表示され、アカウントに変更を加えることができます。
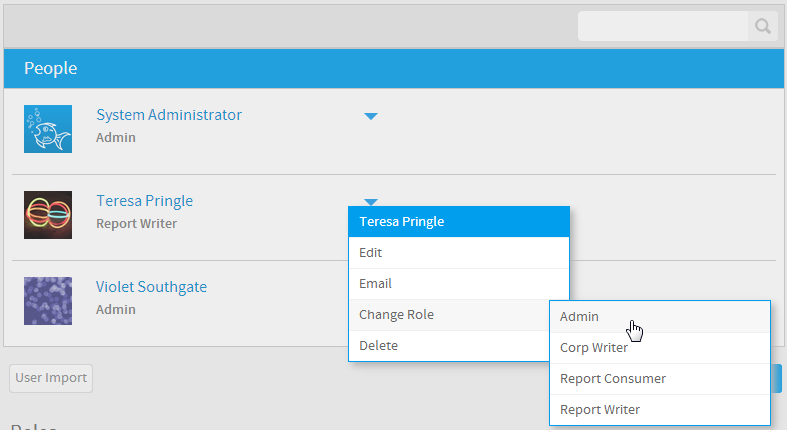
ロールの変更
| Styleclass | ||
|---|---|---|
| ||
ユーザーのロール権限を変更するには、前述した編集プロセスを使用するか、または単にユーザー名の横にあるドロップダウンメニューから「ロールの変更」オプションを選択して、別のロールを選択することができます。
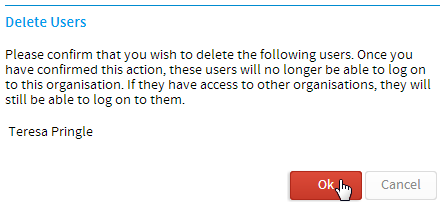
ユーザーの削除
| Styleclass | ||
|---|---|---|
| ||
ユーザーのシステムへのアクセス権を削除するには、そのアカウントを削除する必要があります。管理パネルでユーザーの横にあるドロップダウンメニューをクリックし、「削除」オプションを選択します。
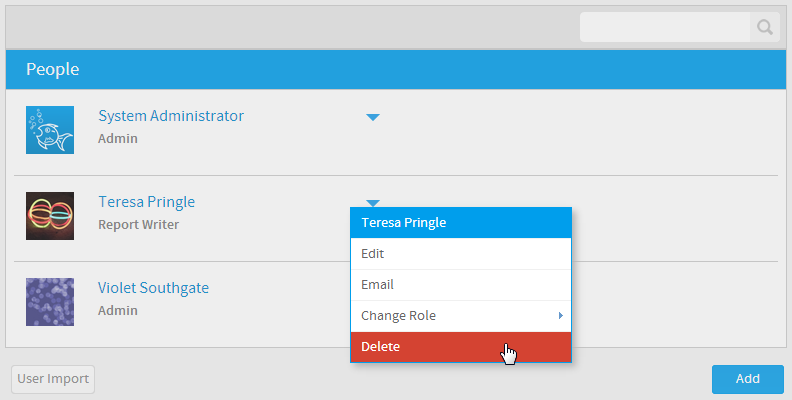
別のページが開き、ユーザーの削除を確認するメッセージが表示されます。
...
| horizontalrule |
|---|
| Styleclass | ||
|---|---|---|
| ||