Page History
| Anchor | ||||
|---|---|---|---|---|
|
| Table of Contents | ||
|---|---|---|
|
...
グループ一覧
| Styleclass | ||
|---|---|---|
|
...
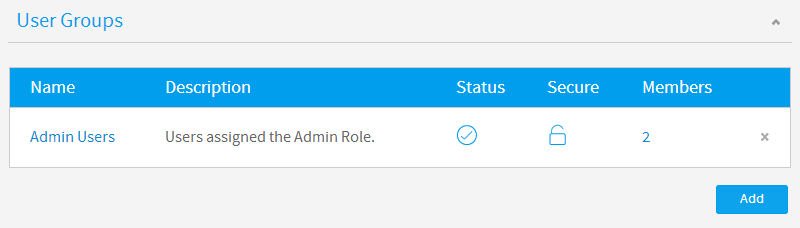
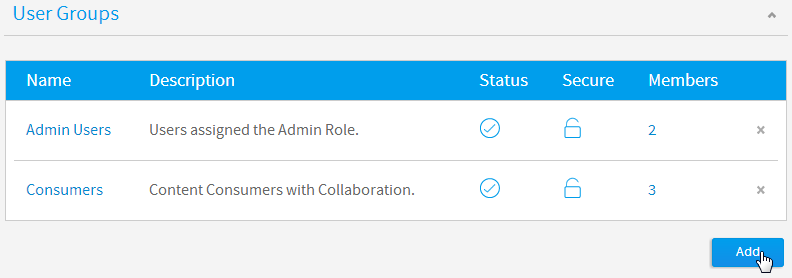
This section describes how Groups are used within the application. Groups are a vital element of Yellowfin security and Broadcast processes. Groups assist users by allowing commons sets of people to be added in to general groups which can then be attached as a single entity to various elements within the application. Groups can be created and managed through the Admin Console. Once a group has been defined there are processes within Yellowfin that will automatically maintain members of a group on a regular basis.
...
グループの作成
| Styleclass | ||
|---|---|---|
|
...
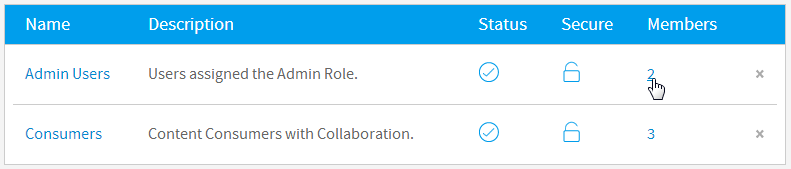
Group Details
You will now be taken to the Group Details page where you will have to provide the following:
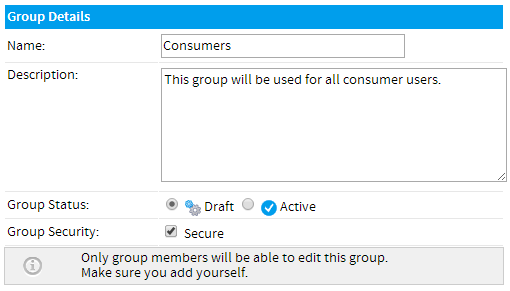
- Name: enter a name for the group that will be used to identify it throughout the system.
- Description: enter a description for the group that will help define its intended use.
- Group Status: activate the group in order to use it throughout the system.
- Group Security: secure the group if you only wish group members to be able to make adjustments to the group.
Default Dashboards
If you wish to automatically add dashboard tabs to a user's dashboard when they are created you can assign the default tabs for a user group. Choose the tab and click 'add' to add them to the list of tabs. The order you add tabs to a user group will be the order they are sorted on the dashboard (see the numbered list pictured below). All these tabs will be created for a new user when they first login to Yellowfin.
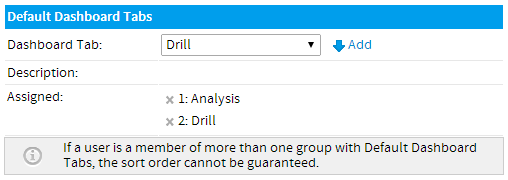
Note: this only adds tabs to new users when they are created, once added users can then remove these tabs if they desire.
Group Members
To assign users to a group you will have to create member records. This is done by deciding how members should be assigned. To assign members you can either add in specific users or specific types of users. For example you could create a group that includes all users with the role of 'Public Writer'. The following member types are available from within Yellowfin:
Person | Individual users of Yellowfin. |
|---|---|
Role | If you wish to select all users from a selected Yellowfin role - such as administrators then select role. |
Group | Pre-existing groups that have been created in the group management list. |
LDAP Group | If you have configured your assess to use LDAP directories then you will be able to select an LDAP group. Yellowfin will synchronise with this group on a daily basis. |
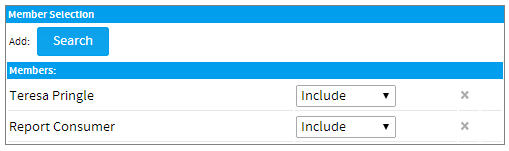
The member control allows you to determine if the user should be included or excluded from the group. For Example you might want to include all Public Writers in a group but exclude John Smith.
If a user is excluded from a group then this overrides any record from which they might be included. The exclusion process is the last step of building the group members.
- Select the type of member you want to add to a group
- Determine if you wish to include or exclude them from the group
- Click add to add them into the members list
Once complete, click Save to add the group.
...
グループ詳細
「グループ詳細」ページが表示されます。ここで、以下を定義する必要があります:
- 名前:システム全体でそのグループを識別するために使用するグループ名を入力します。
- 説明:そのグループの用途を定義するのに役立つグループの説明を入力します。
- グループステータス:システム全体で使用するためにグループを有効化します。
- グループセキュリティー:グループメンバーのみがグループを調整できるようにする場合、グループを保護します。
デフォルトのダッシュボード
ユーザーがダッシュボードを作成すると同時に、自動的にダッシュボードタブが追加されるように、ユーザーグループにデフォルトのタブを設定しておくことができます。タブを選択したらクリックして、タブの一覧に追加します。ユーザーグループにタブを追加する順序に従って、これらがダッシュボードで並べかえられます(下の番号付きの一覧を参照)。新規のユーザーがYellowfinにはじめてログインする際、この一覧のタブが一括で作成されます。
注意:これから新しくログインするユーザーに対して、このダッシュボードタブがデフォルトとして追加されます。追加後、ユーザーは必要に応じてこれらのタブを削除することができます。
グループのメンバー
ユーザーをグループに加えるためにはまず、グループに加えるメンバーの選び方を指定します。メンバーを追加するには、個々のユーザーまたは特定のロールを持つユーザーを指定できます。たとえば「共有レポート作成者」のロールで、すべてのユーザーを含むグループを作成することができます。Yellowfinから指定することができるメンバーの種類は、以下の通りです:
ユーザー | 個々のユーザーを選択します。 |
|---|---|
ロール | 特定のロールに割り当てられているすべてのユーザーを選択します。 |
グループ | 既存のグループ。 |
LDAPグループ | LDAPディレクトリを利用している場合には、LDAPグループを選ぶことができます。Yellowfinは、毎日このグループと同期します。 |
メンバー管理で、選択したユーザーをグループに含めるか、グループから除外するかを指定できます。たとえば「共有レポート作成者」というグループからジョン・スミスを除く全員を選択するというような場合に使用します。
ユーザーがグループから除外された場合、その効果は過去のすべての選択をオーバーライドします。したがって「含めない」は、メンバーを決定する最後のステップとなります。
- グループに加えたいメンバーの種類を選んでください。
- 選択されたユーザーをグループに加えるか、除外するかを決定してください。
- 「追加」をクリックしてメンバー一覧に追加します。
完了したら、「保存」をクリックしてグループを追加します。
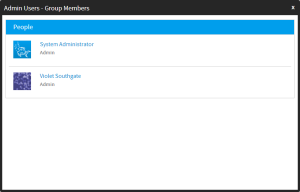
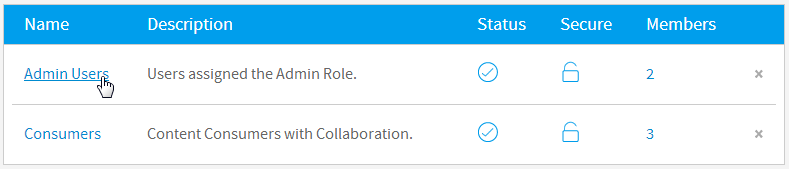
メンバーの表示
| Styleclass | ||
|---|---|---|
|
...
...
グループの編集
| Styleclass | ||
|---|---|---|
|
...
...
グループの削除
| Styleclass | ||
|---|---|---|
|
...
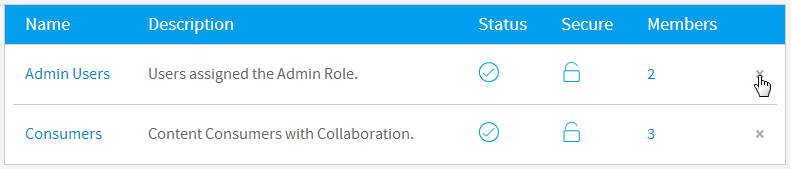
In order to delete a group definition, simply locate the group in the Admin Console and click on the x to the right of it. This will only remove the group, not the users assigned to it.
| horizontalrule |
|---|
| Styleclass | ||
|---|---|---|
|
...